


Felt Heart Garland

Whether Valentine's Day is on the horizon or you simply want to surprise someone you love, it's always a good time for these sweet felt heart garlands! One of our small felt rolls will make around 4 yards of garland while our full sheet rolls will make around 12 yards of garland. So pick your felt roll size and color palette, and settle in for a simple- and simply adorable -craft you're going to LOVE!
Supplies
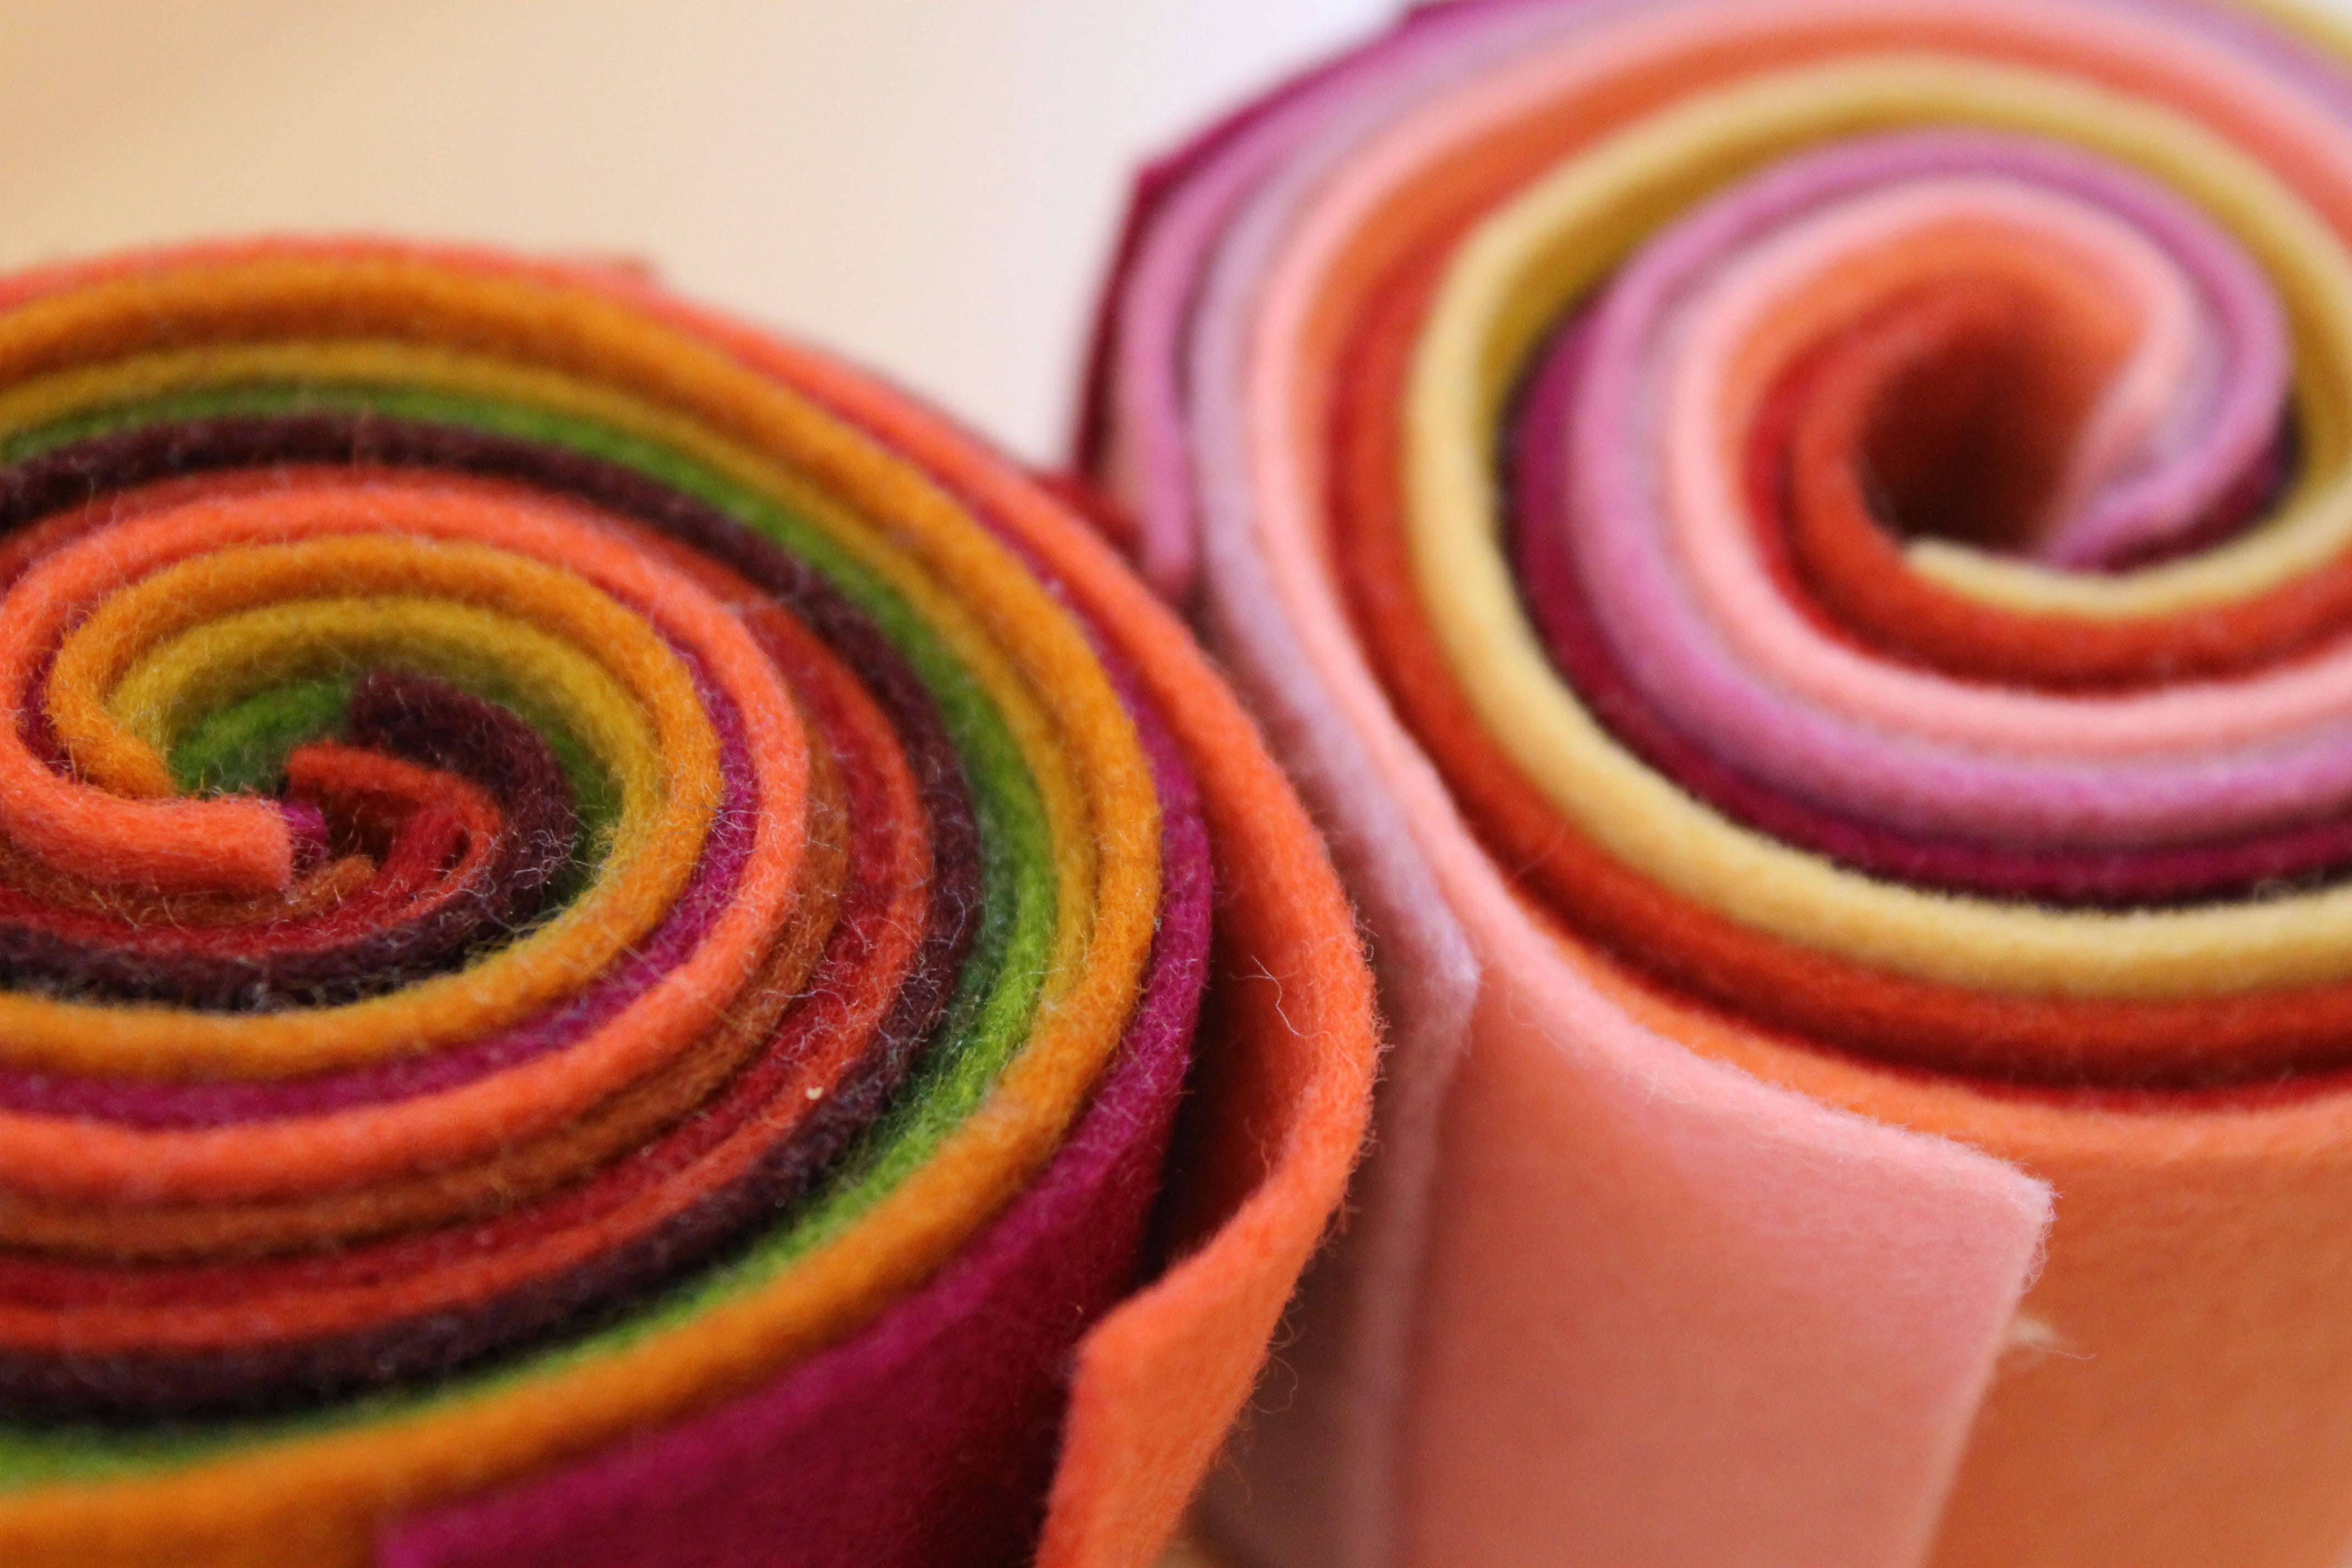
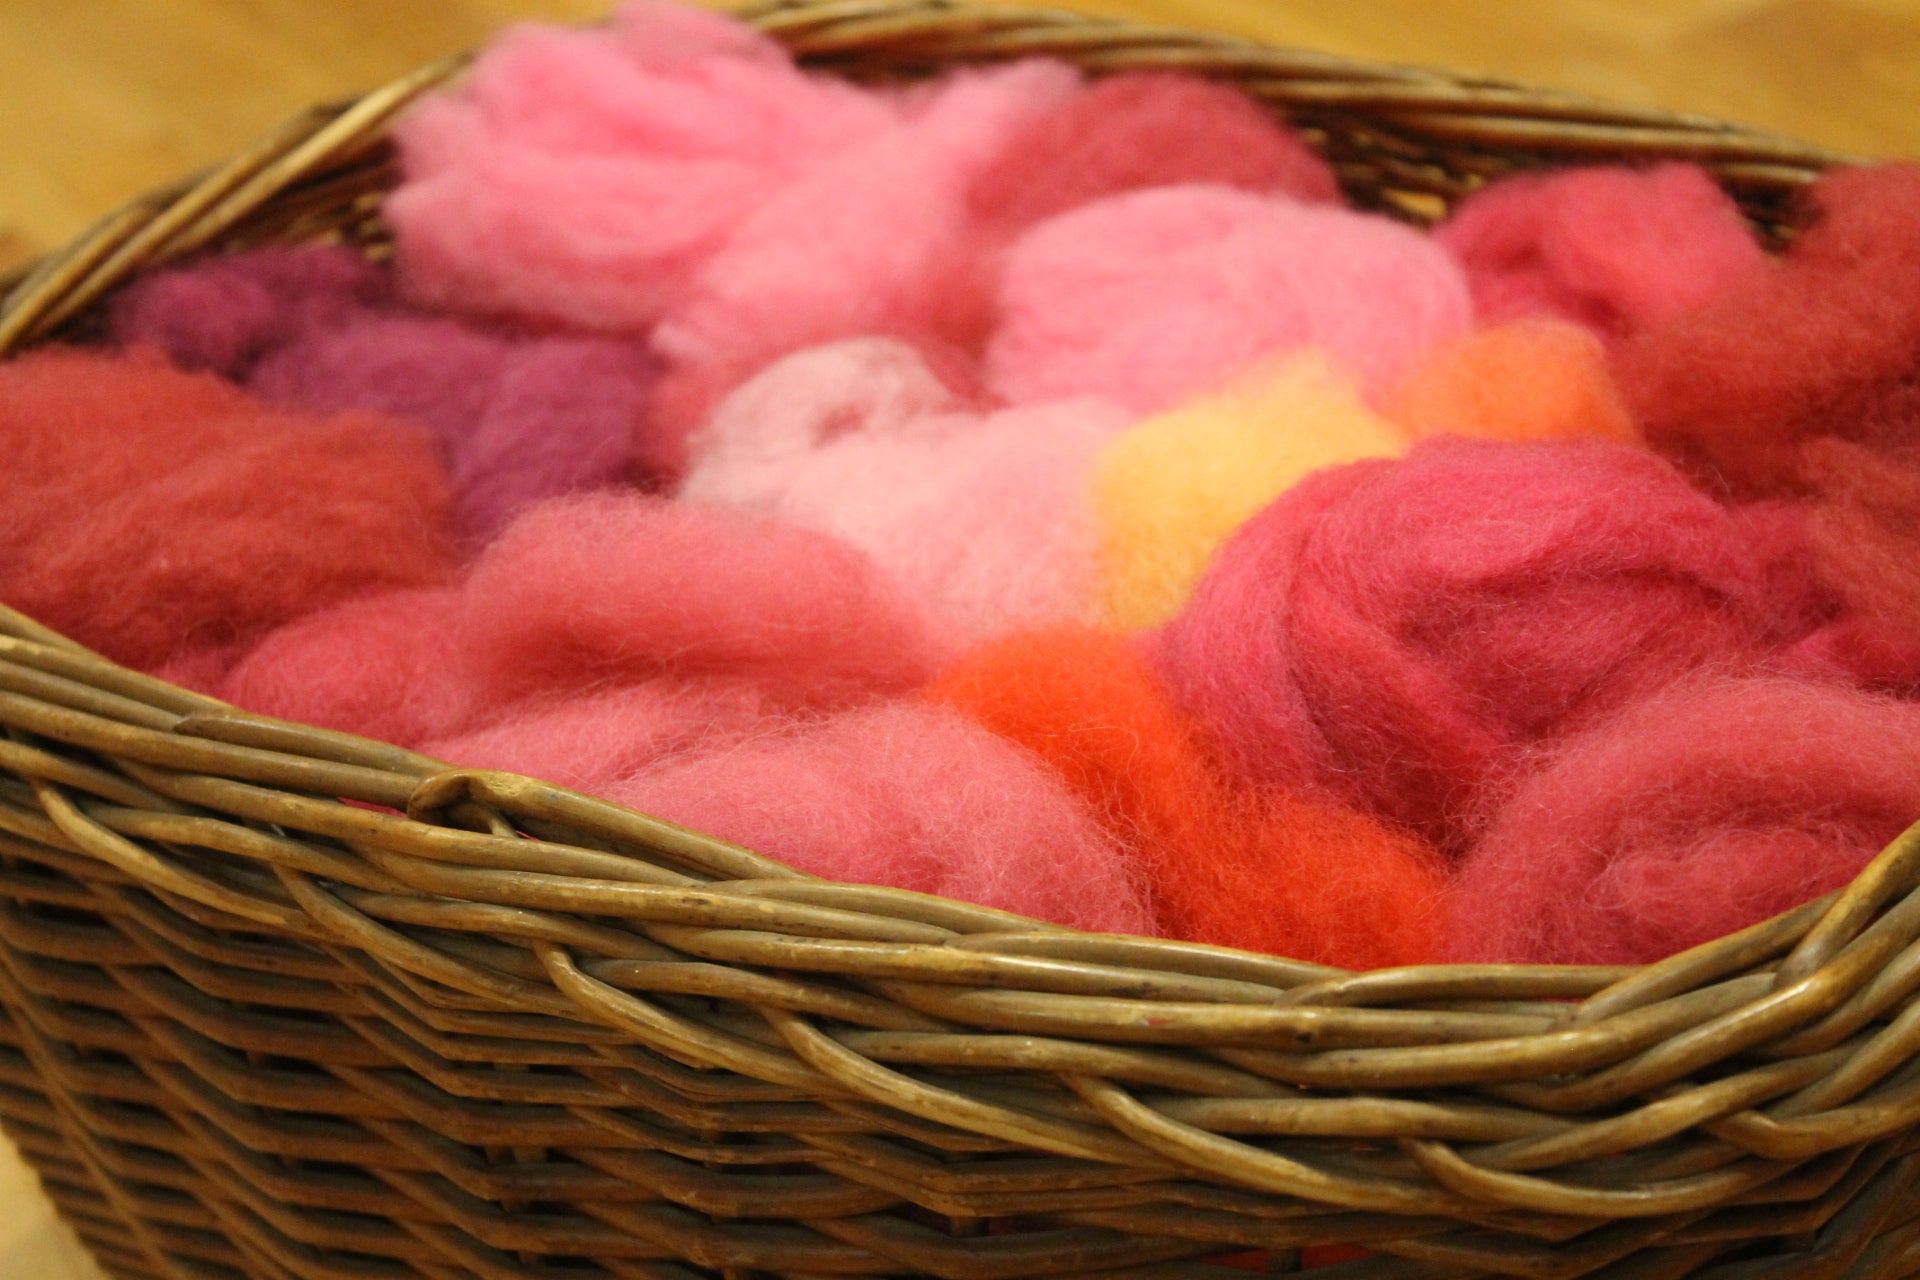
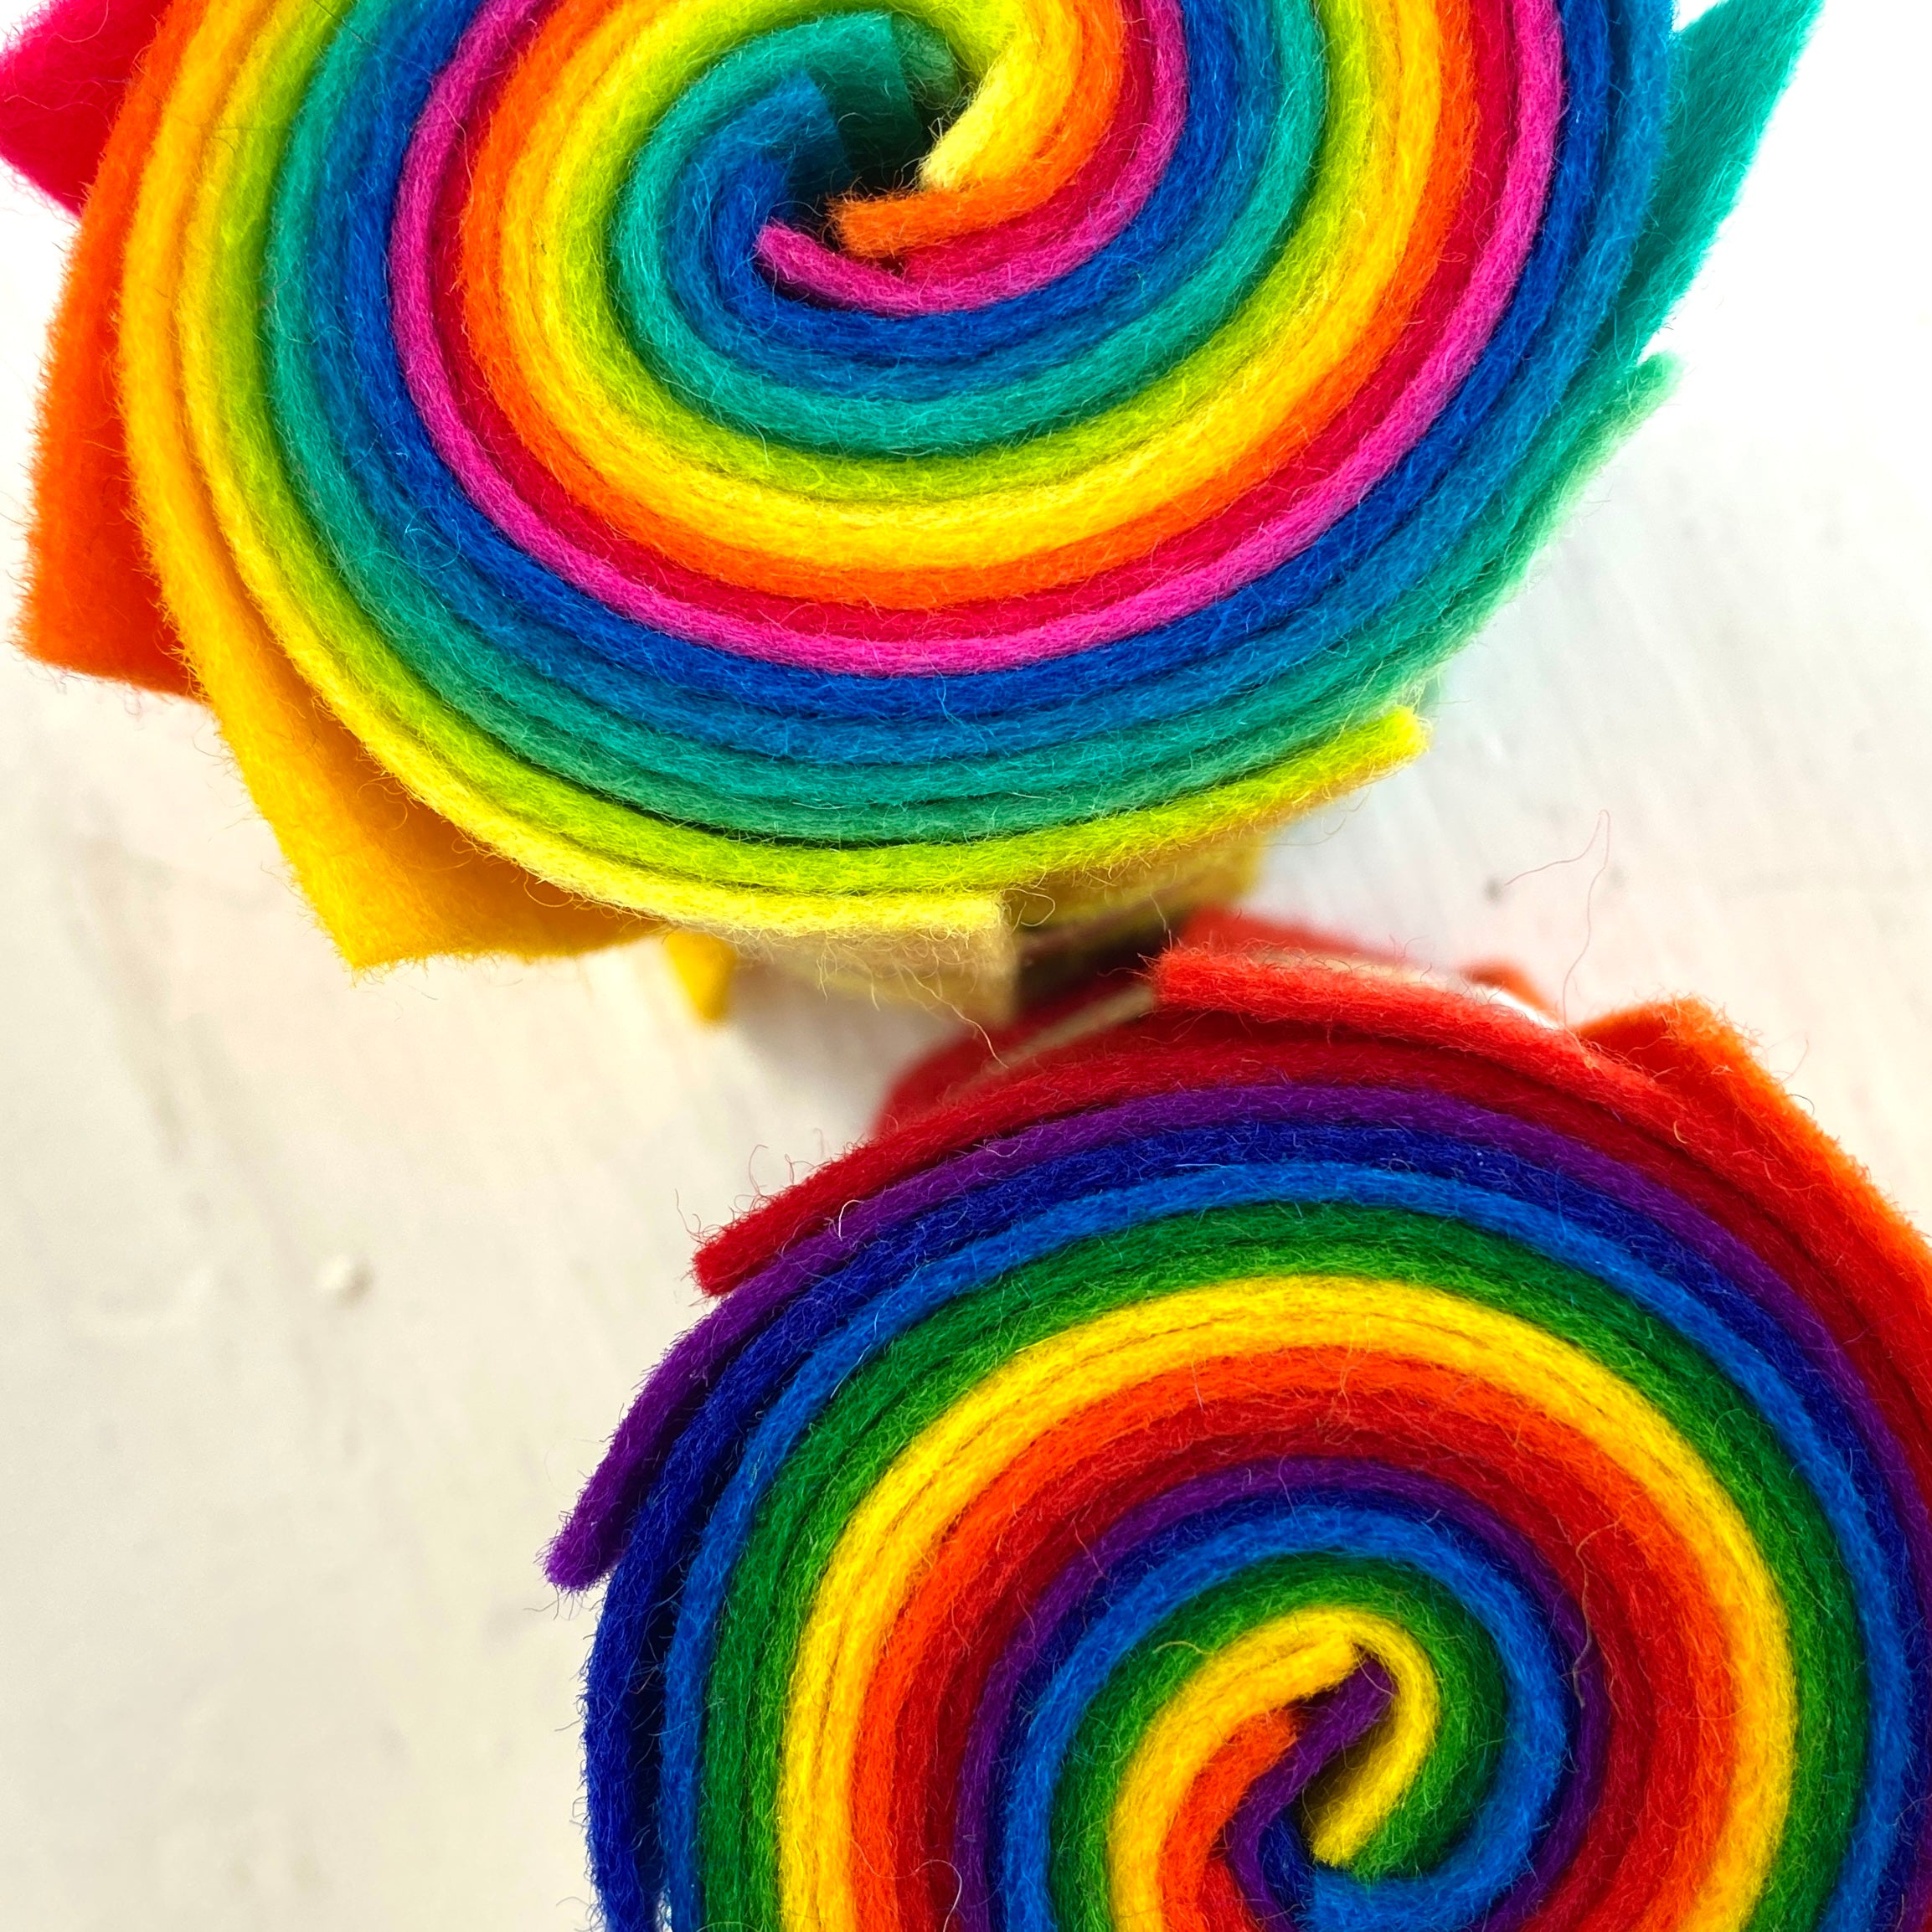
- Felt Roll
- Thread for machine sewing the heart shapes
- Rotary cutter, or scissors
- Cutting mat, optional
- Clear ruler, optional
- Lightweight thread, sashiko thread, or hot glue for stringing/connecting garland
Preparing the Felt, Thread, & Machine

Begin with 4" x 8" pieces of felt. If you are working with one of our small felt rolls, your felt pieces will already be this size. If you are starting with sheets you will need to cut your 12" x 8" pieces into thirds to produce your 4" x 8" pieces.
Fold your 4" x 8" pieces of felt in half, matching the long edges and creating a folded 2" x 8" piece of felt. With your iron set to WOOL, press your folds in place. If you do not have a WOOL setting, use mid-range heat.


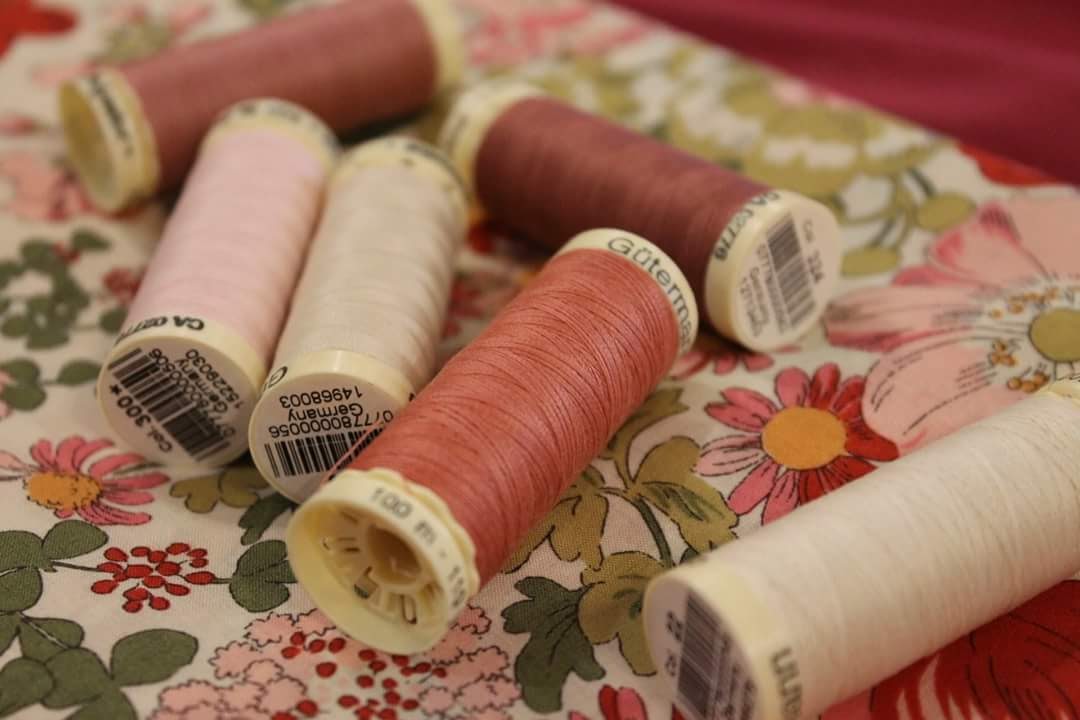
When choosing your thread color, lay a piece of the thread across all the colors and see if you like the way it blends or contrasts.

Sewing the Hearts
Now it's time to sew! Later you will be cutting through your stitches so set your machine to a short stitch length to reduce the risk of your stitches coming undone. Stitch down the long (8") side of your felt a 1/4" away from the fold. Repeat for all pressed felt pieces. If you like you can chain sew the folds in place. This practice can be more efficient both time and thread-wise!


After you have sewed 1/4" from the folded edge on all of your pressed felt pieces, repeat the process once more. This second row of stitches, in addition to your short stitch setting, will allow you to cut through your stitches in a later step without risk of unraveling.


Now that you have sewed along the pressed edge of each felt piece twice, it's time to create your heart shape. Open up the long un-sewn sides of one of your felt pieces and bring them around to meet so that your sewn folded edge is on the inside of your felt piece and a heart shape is created.

Make sure your felt is lined up and begin sewing down the long (8") side 1/8" away from the raw edge. This line of stitches will result in a heart shaped tube. Repeat with your other felt pieces, chain sewing if you desire.


After you have sewed 1/8" from the raw bottom edge of all of your felt pieces, repeat the process again to keep your stitches in place when cutting.

Cutting the Hearts
Now it's time to cut your hearts! You can use scissors and freehand cut 1/2" wide hearts off the heart tubes you've sewn, or you can use a rotary cutter and clear ruler or cutting mat to cut more precise 1/2" wide hearts.
We found we preferred using a rotary cutter and just the cutting mat to measure (without the ruler). While the clear ruler provided the most precision, it did take longer and feel more cumbersome, and the hearts did not look any better for it in the end.


Making the Garland

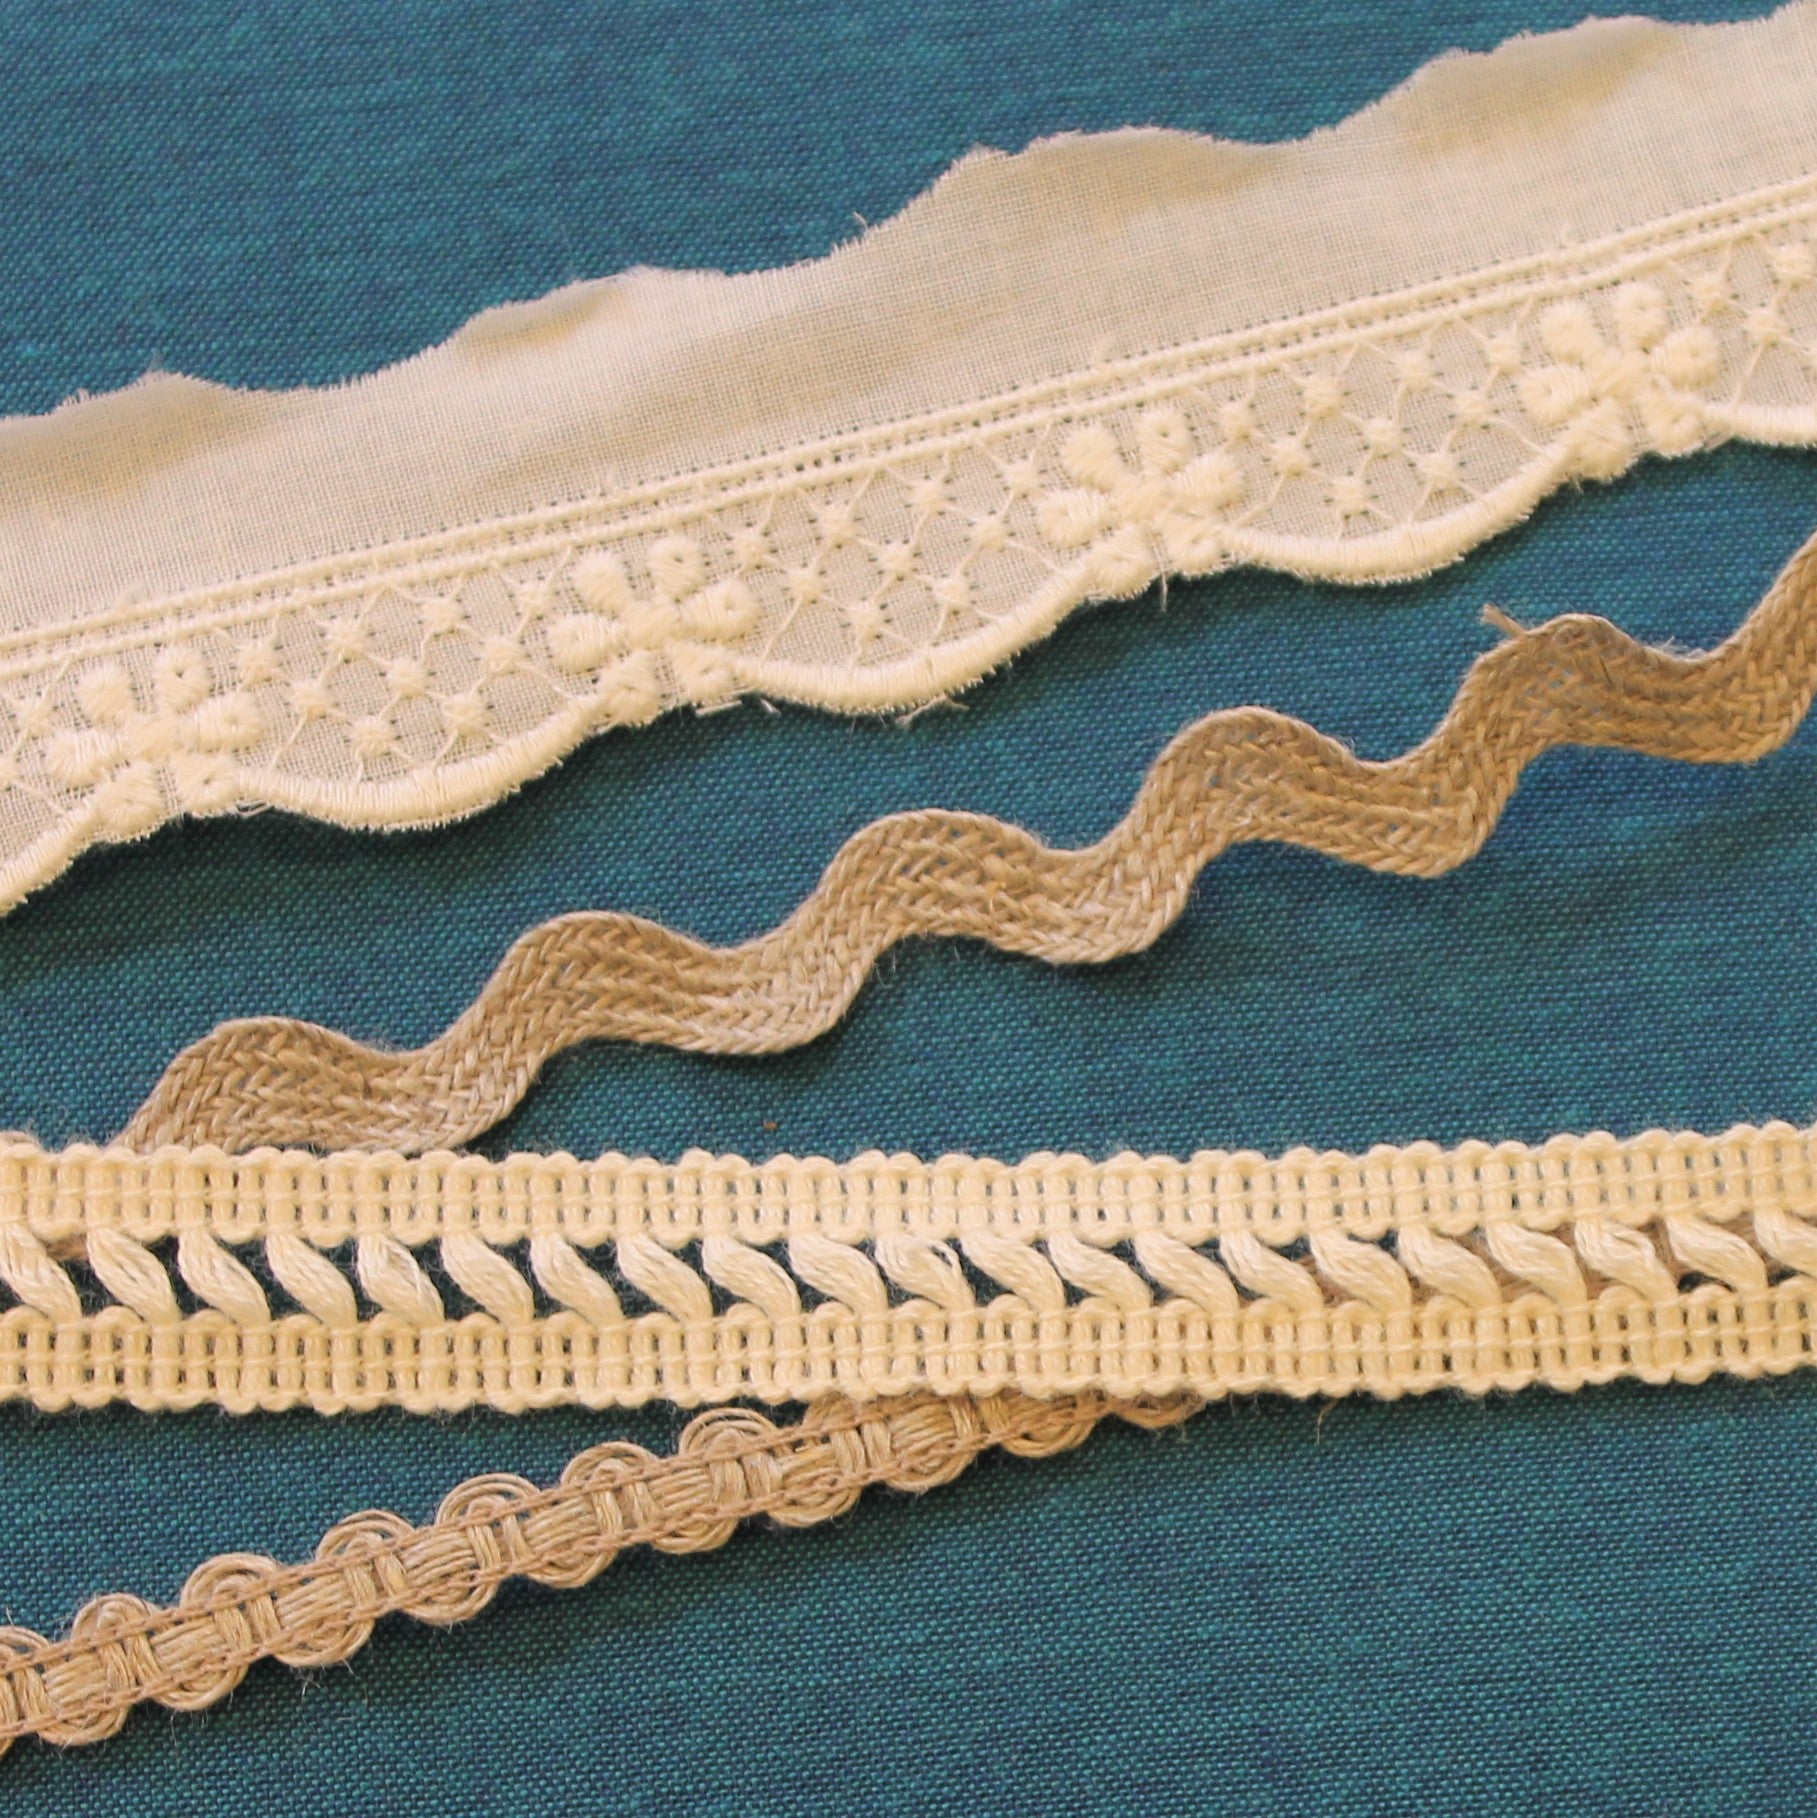
Once all of your hearts are cut, it's time to assemble your garland! There are a few construction options to consider:
Lightweight thread: the most invisible thread option but the hearts more easily flip upside down with this method and will need to be fussed with once you've hung your garland if you don't want upside-down hearts.
Sashiko thread: the most visible thread option but a sturdier choice than regular thread that has less heart flipping.
Hand sewing: this is a lovely invisible and sturdy option- though is of course the most time consuming.
Hot glue: equally as invisible as hand sewing the hearts together and loads quicker, can be pulled apart a little more easily than the hand stitched garland.


From top to bottom: Gutermann thread; sashiko thread; hand stitched with Gutermann thread; and hot glue.
We chose hot glue to put together our long garland because we loved how quickly the garland came together and how it looked like a paper cutting when the hearts were joined invisibly, but all options are really lovely in their own right!
Whatever option you choose, you will be connecting your hearts (with glue or thread) slightly above the midway point on your hearts' sides.
Hot Glue: place a bead of hot glue on the side of one heart and press it to the next heart. As your garland grows make sure to allow your glue to cool and set before moving onto the next heart as the weight of the growing garland can pull hearts with unset glue apart.
Stringing with thread: string your heart through the side slightly above the midway point, catching the center point of your heart as you push the needle out through the other side. Pull both sides of your heart open and string the next!

That's it! All that's left is to hang your garland and enjoy!